Climbing Knots for Beginners
Nine knots every climber should know, photographed right here in Joshua Tree. Click through the steps on each card to see how they go together.
Great to practice at home — but always have a partner double-check a knot before you trust it with weight. On guided trips, we tie in and check every knot for you.

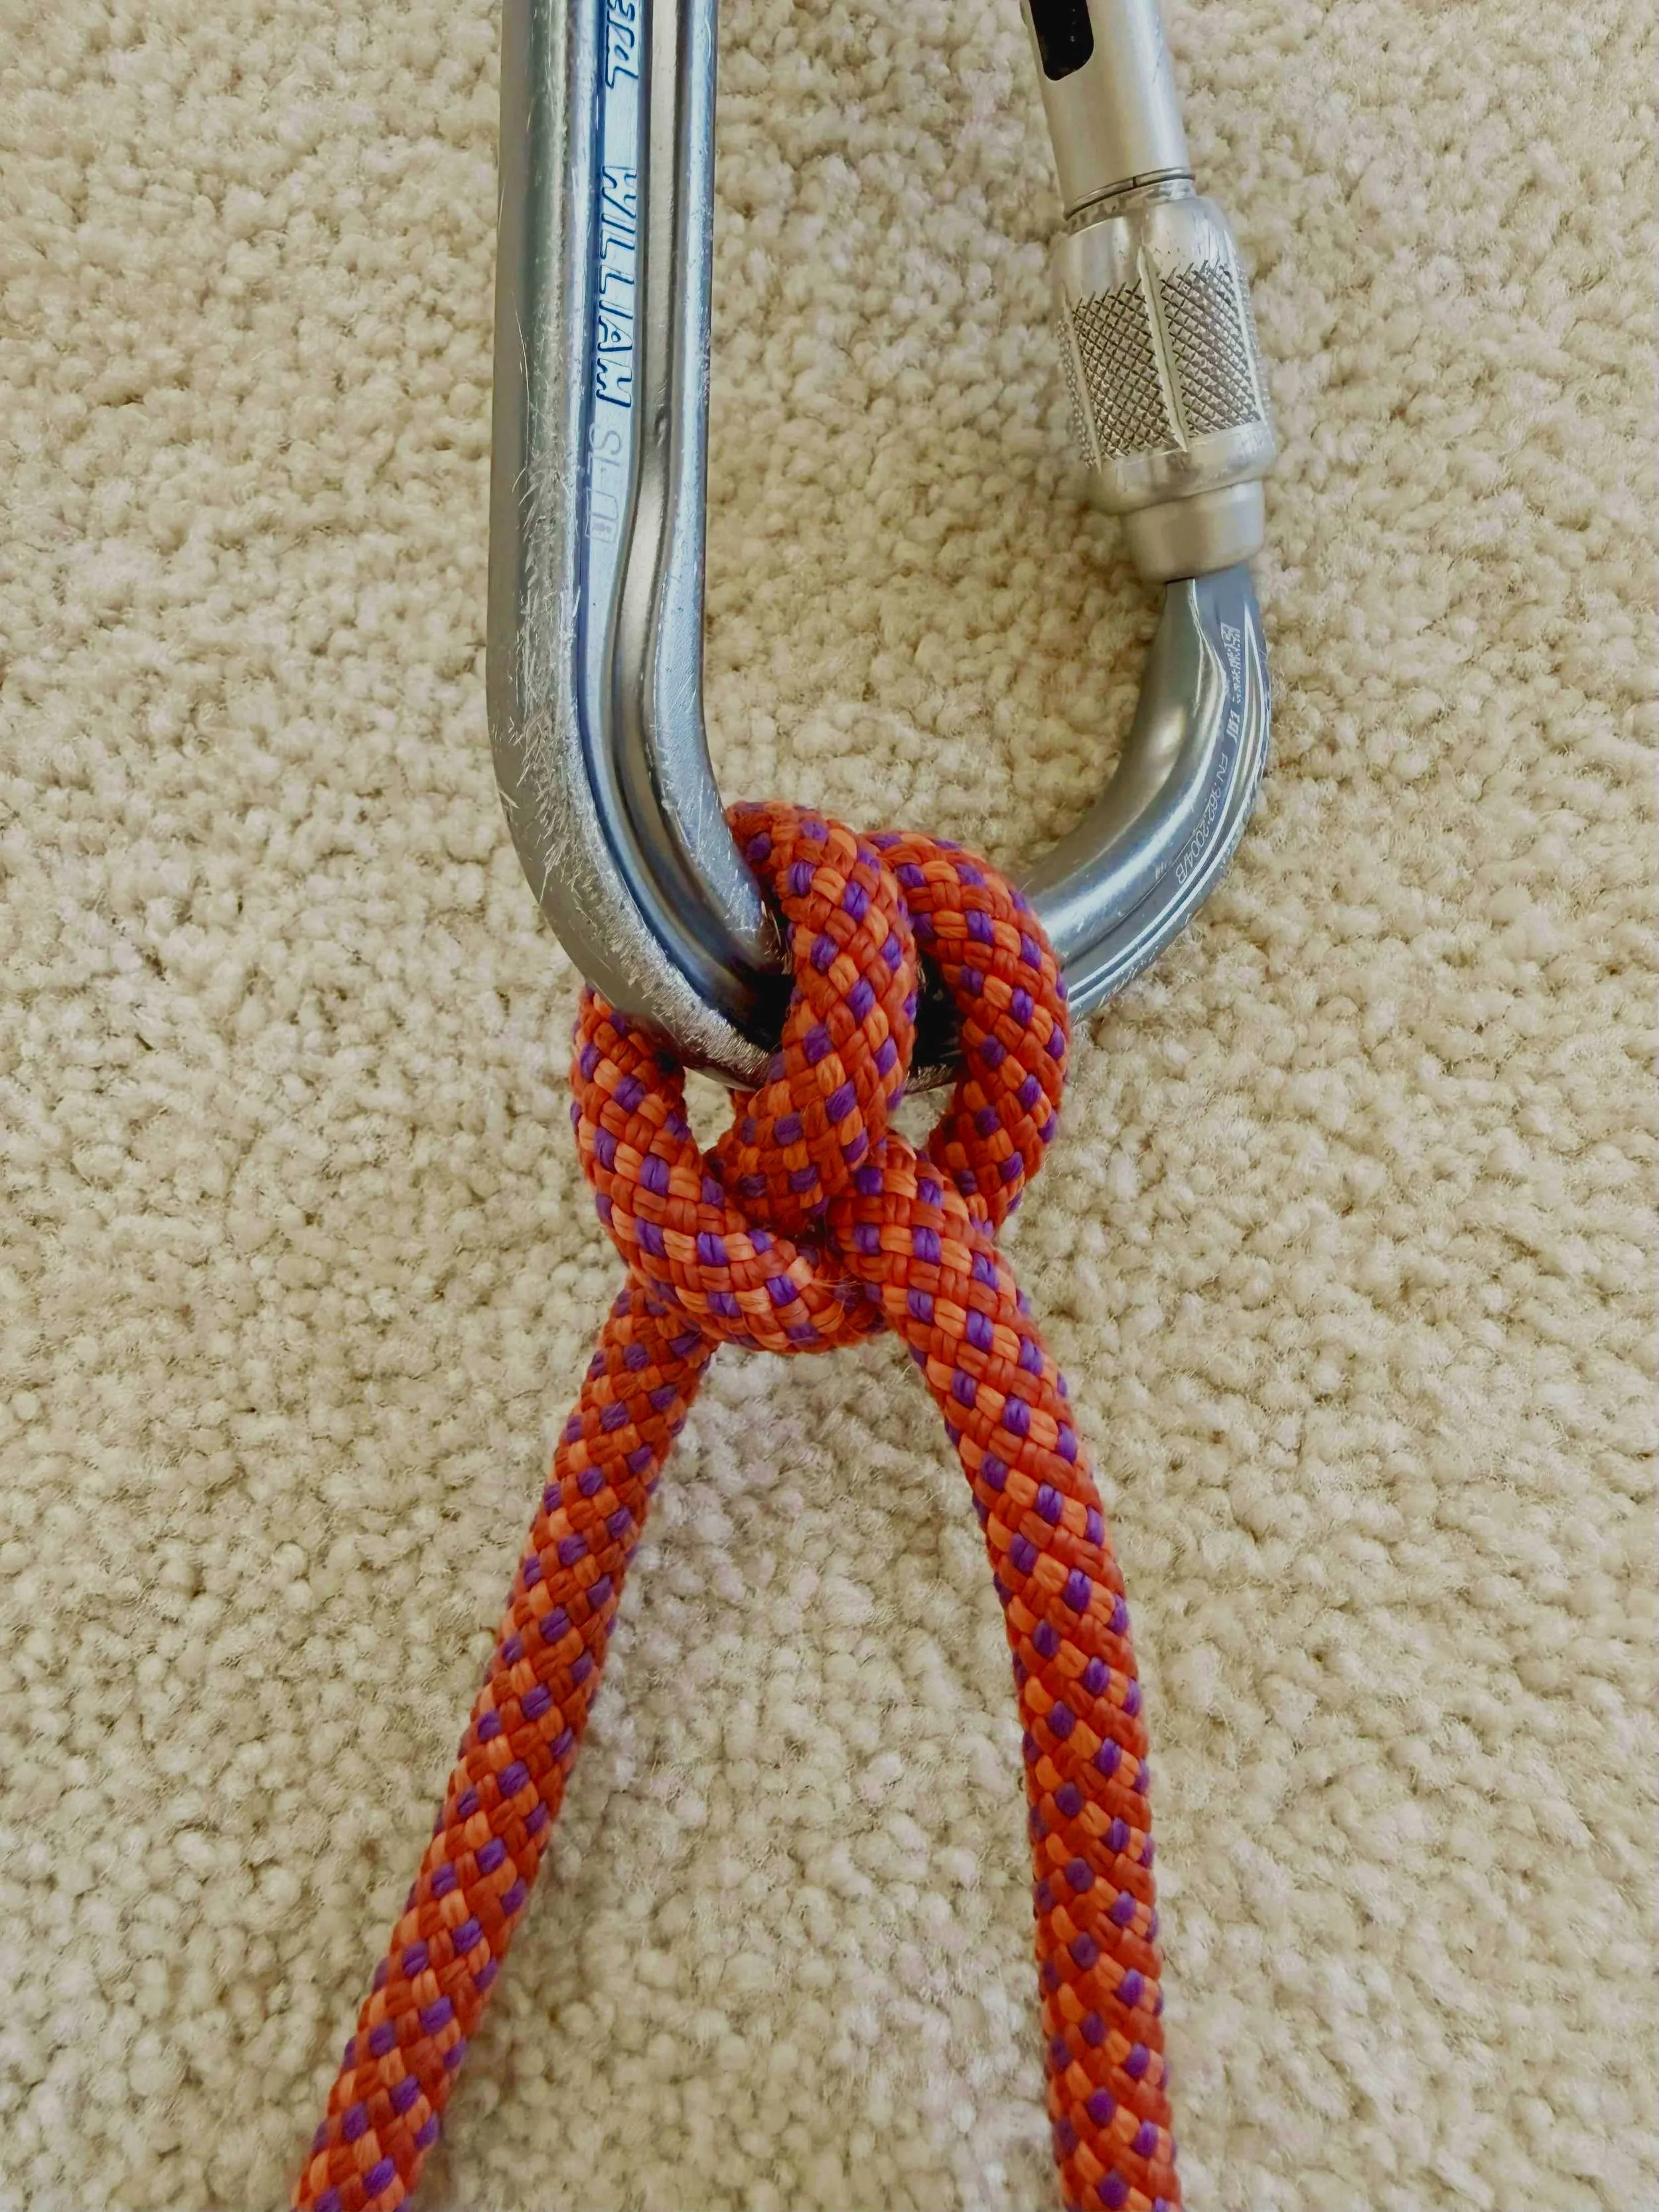
Figure-8 Follow-Through
Tie-InThe first knot every climber learns, used to tie the rope directly into your harness. Easy to inspect at a glance — exactly why it's the standard.
Step 1. Measure an arm's length of rope from the end, then twist a loop so the working end comes around and crosses back over itself, forming a shape like the number 8.
Step 2. Thread the working end through both tie-in points on your harness.
Step 3. Retrace the entire figure-8 with the working end, following the original knot strand for strand.
Step 4. Dress every strand neatly with no crossed strands, then pull all four strands tight. Leave at least 6 inches of tail.
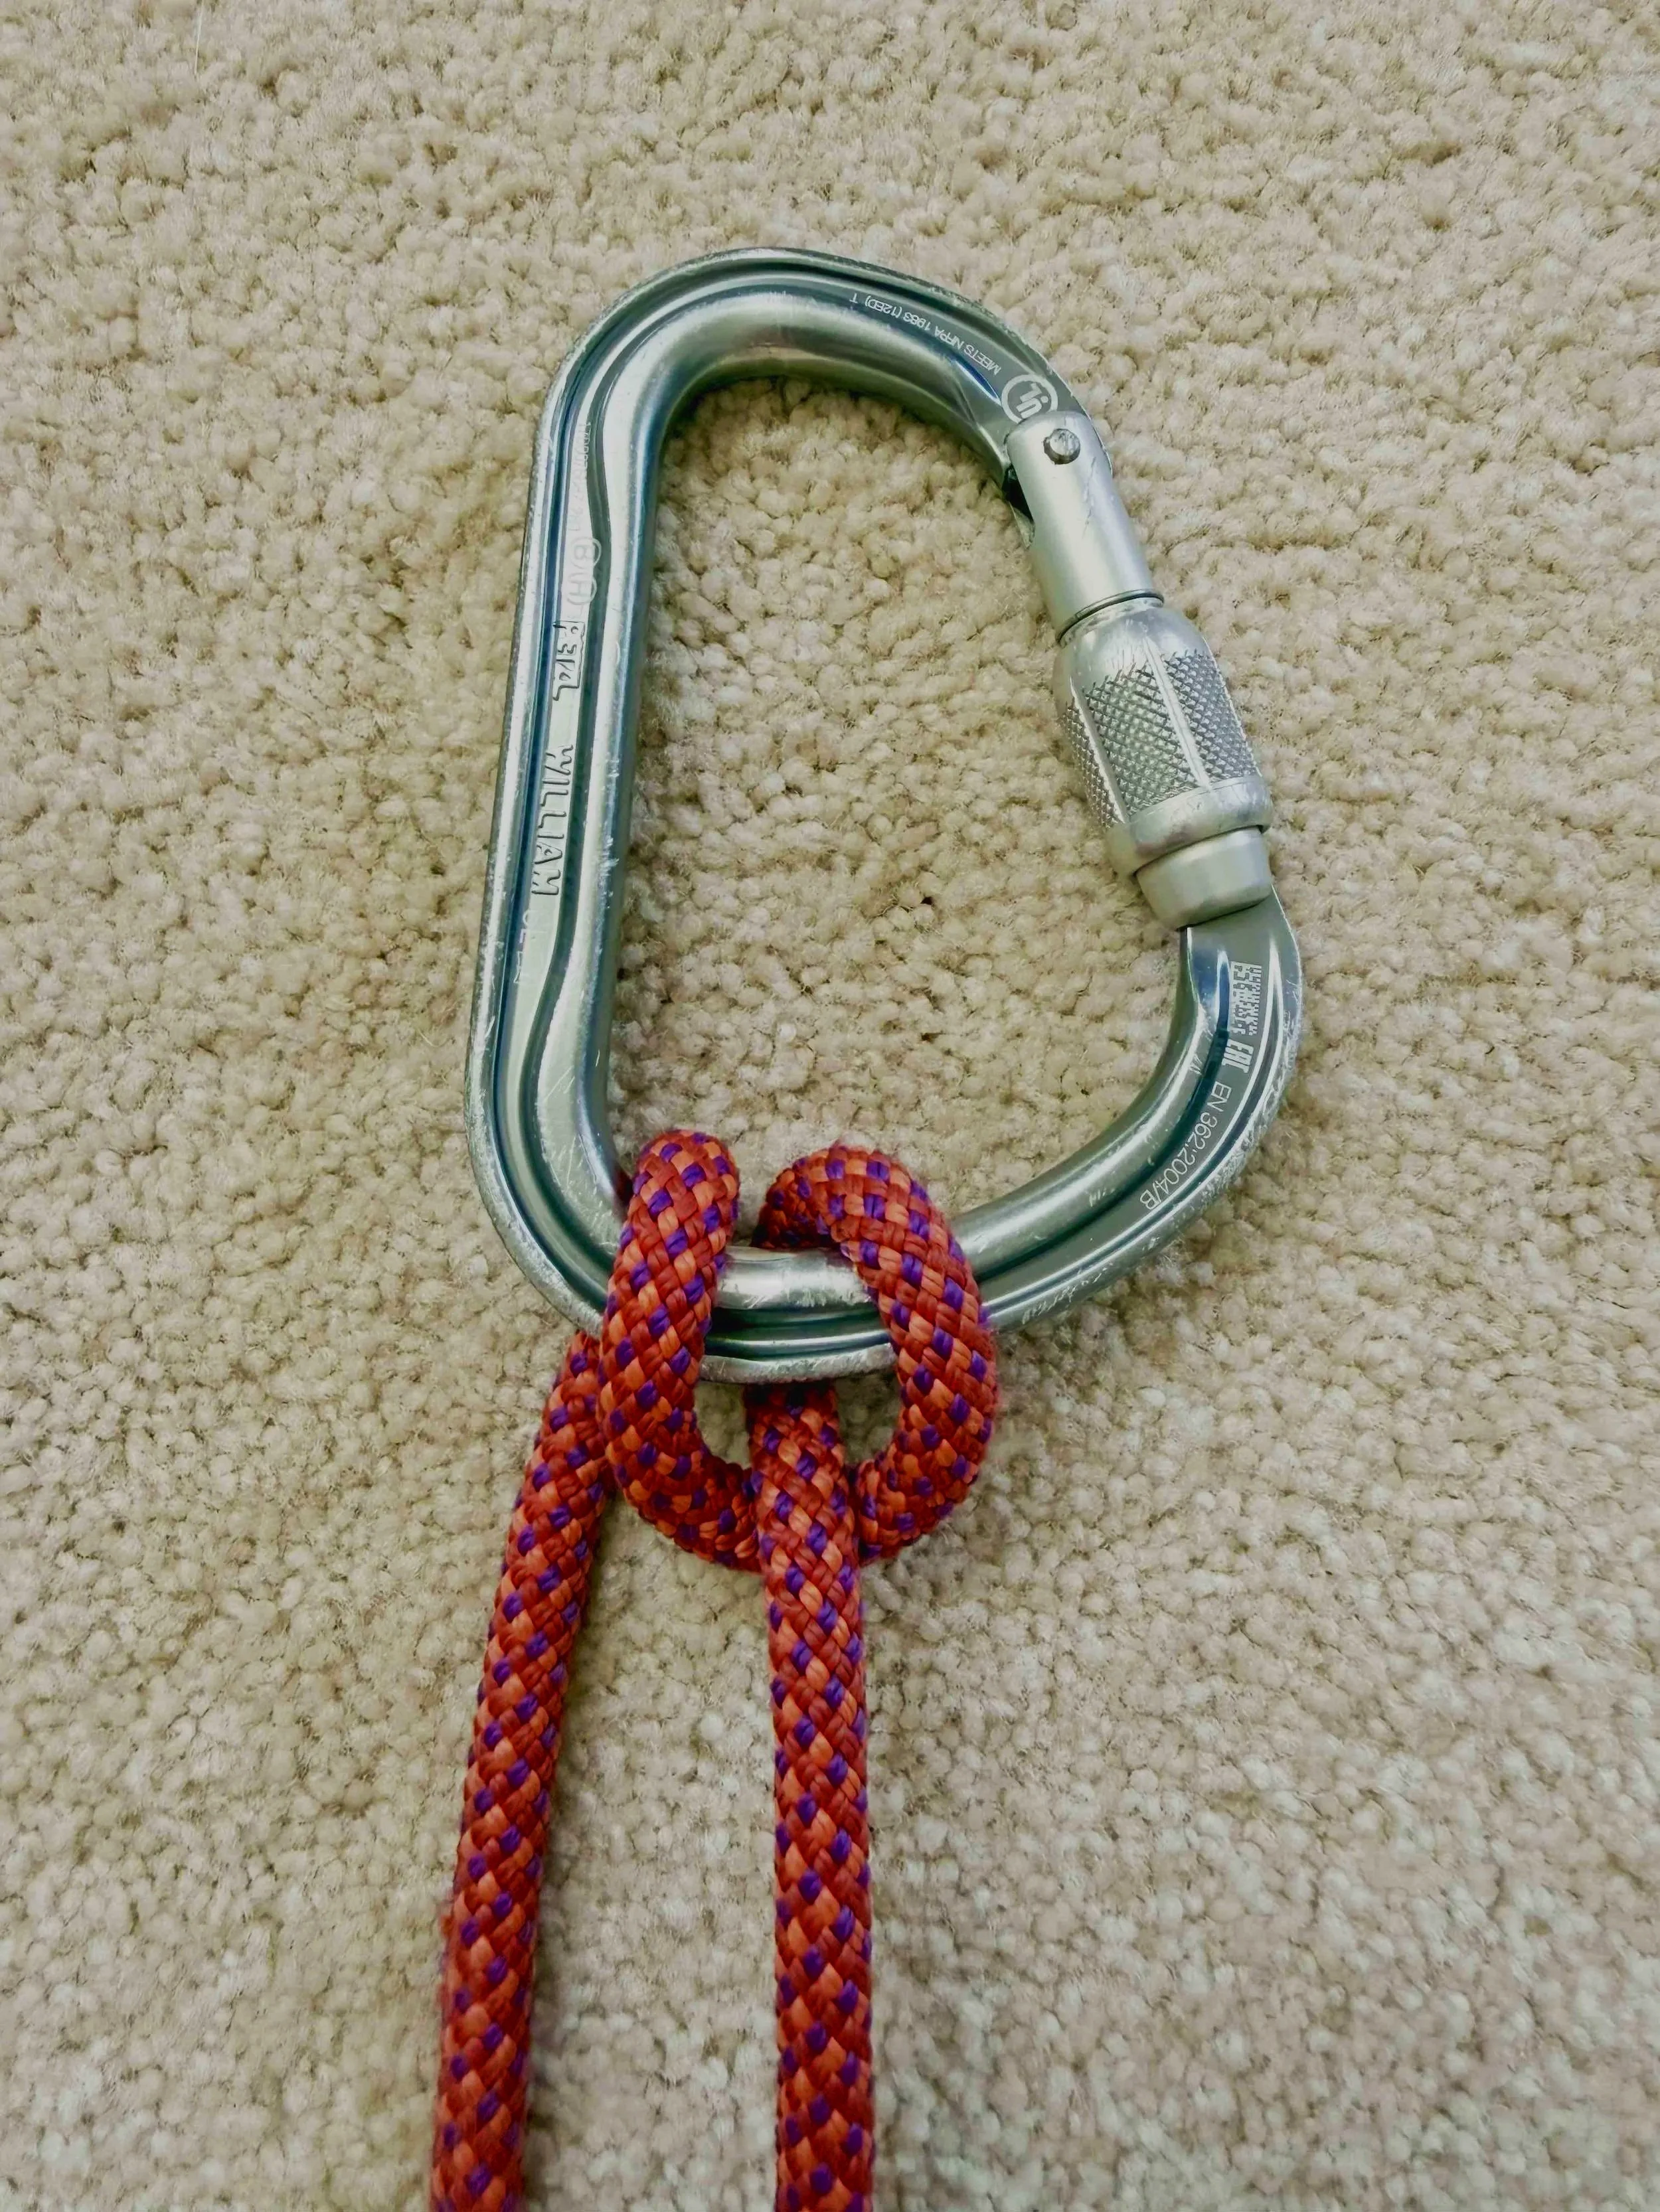
Clove Hitch
AnchorA quick way to clip yourself directly to an anchor. It slides to adjust under load, and unties itself the moment you unclip it.
Step 1. Grab the rope with your finger pointing down the strand, then flip your hand so your finger points up and toward you — this forms one loop.
Step 2. Clip that loop onto a locking carabiner.
Step 3. Repeat the same motion just below it to form a second loop, and clip it onto the same carabiner.
Step 4. Pull both strands to dress and tighten the hitch.

Bowline
Tie-In / AnchorAn alternative to the figure-8 for tying in, and a classic for lashing a rope to a tree or boulder anchor. Loosens easily once unloaded — which is why it always needs a stopper knot backup.
Step 1. Form a small loop in the standing rope, with the working end crossing on top.
Step 2. Feed the working end up through the loop.
Step 3. Wrap the working end behind the standing line, then bring it back down through the same loop.
Step 4. Dress the knot, then tie a stopper knot snug against it before loading.

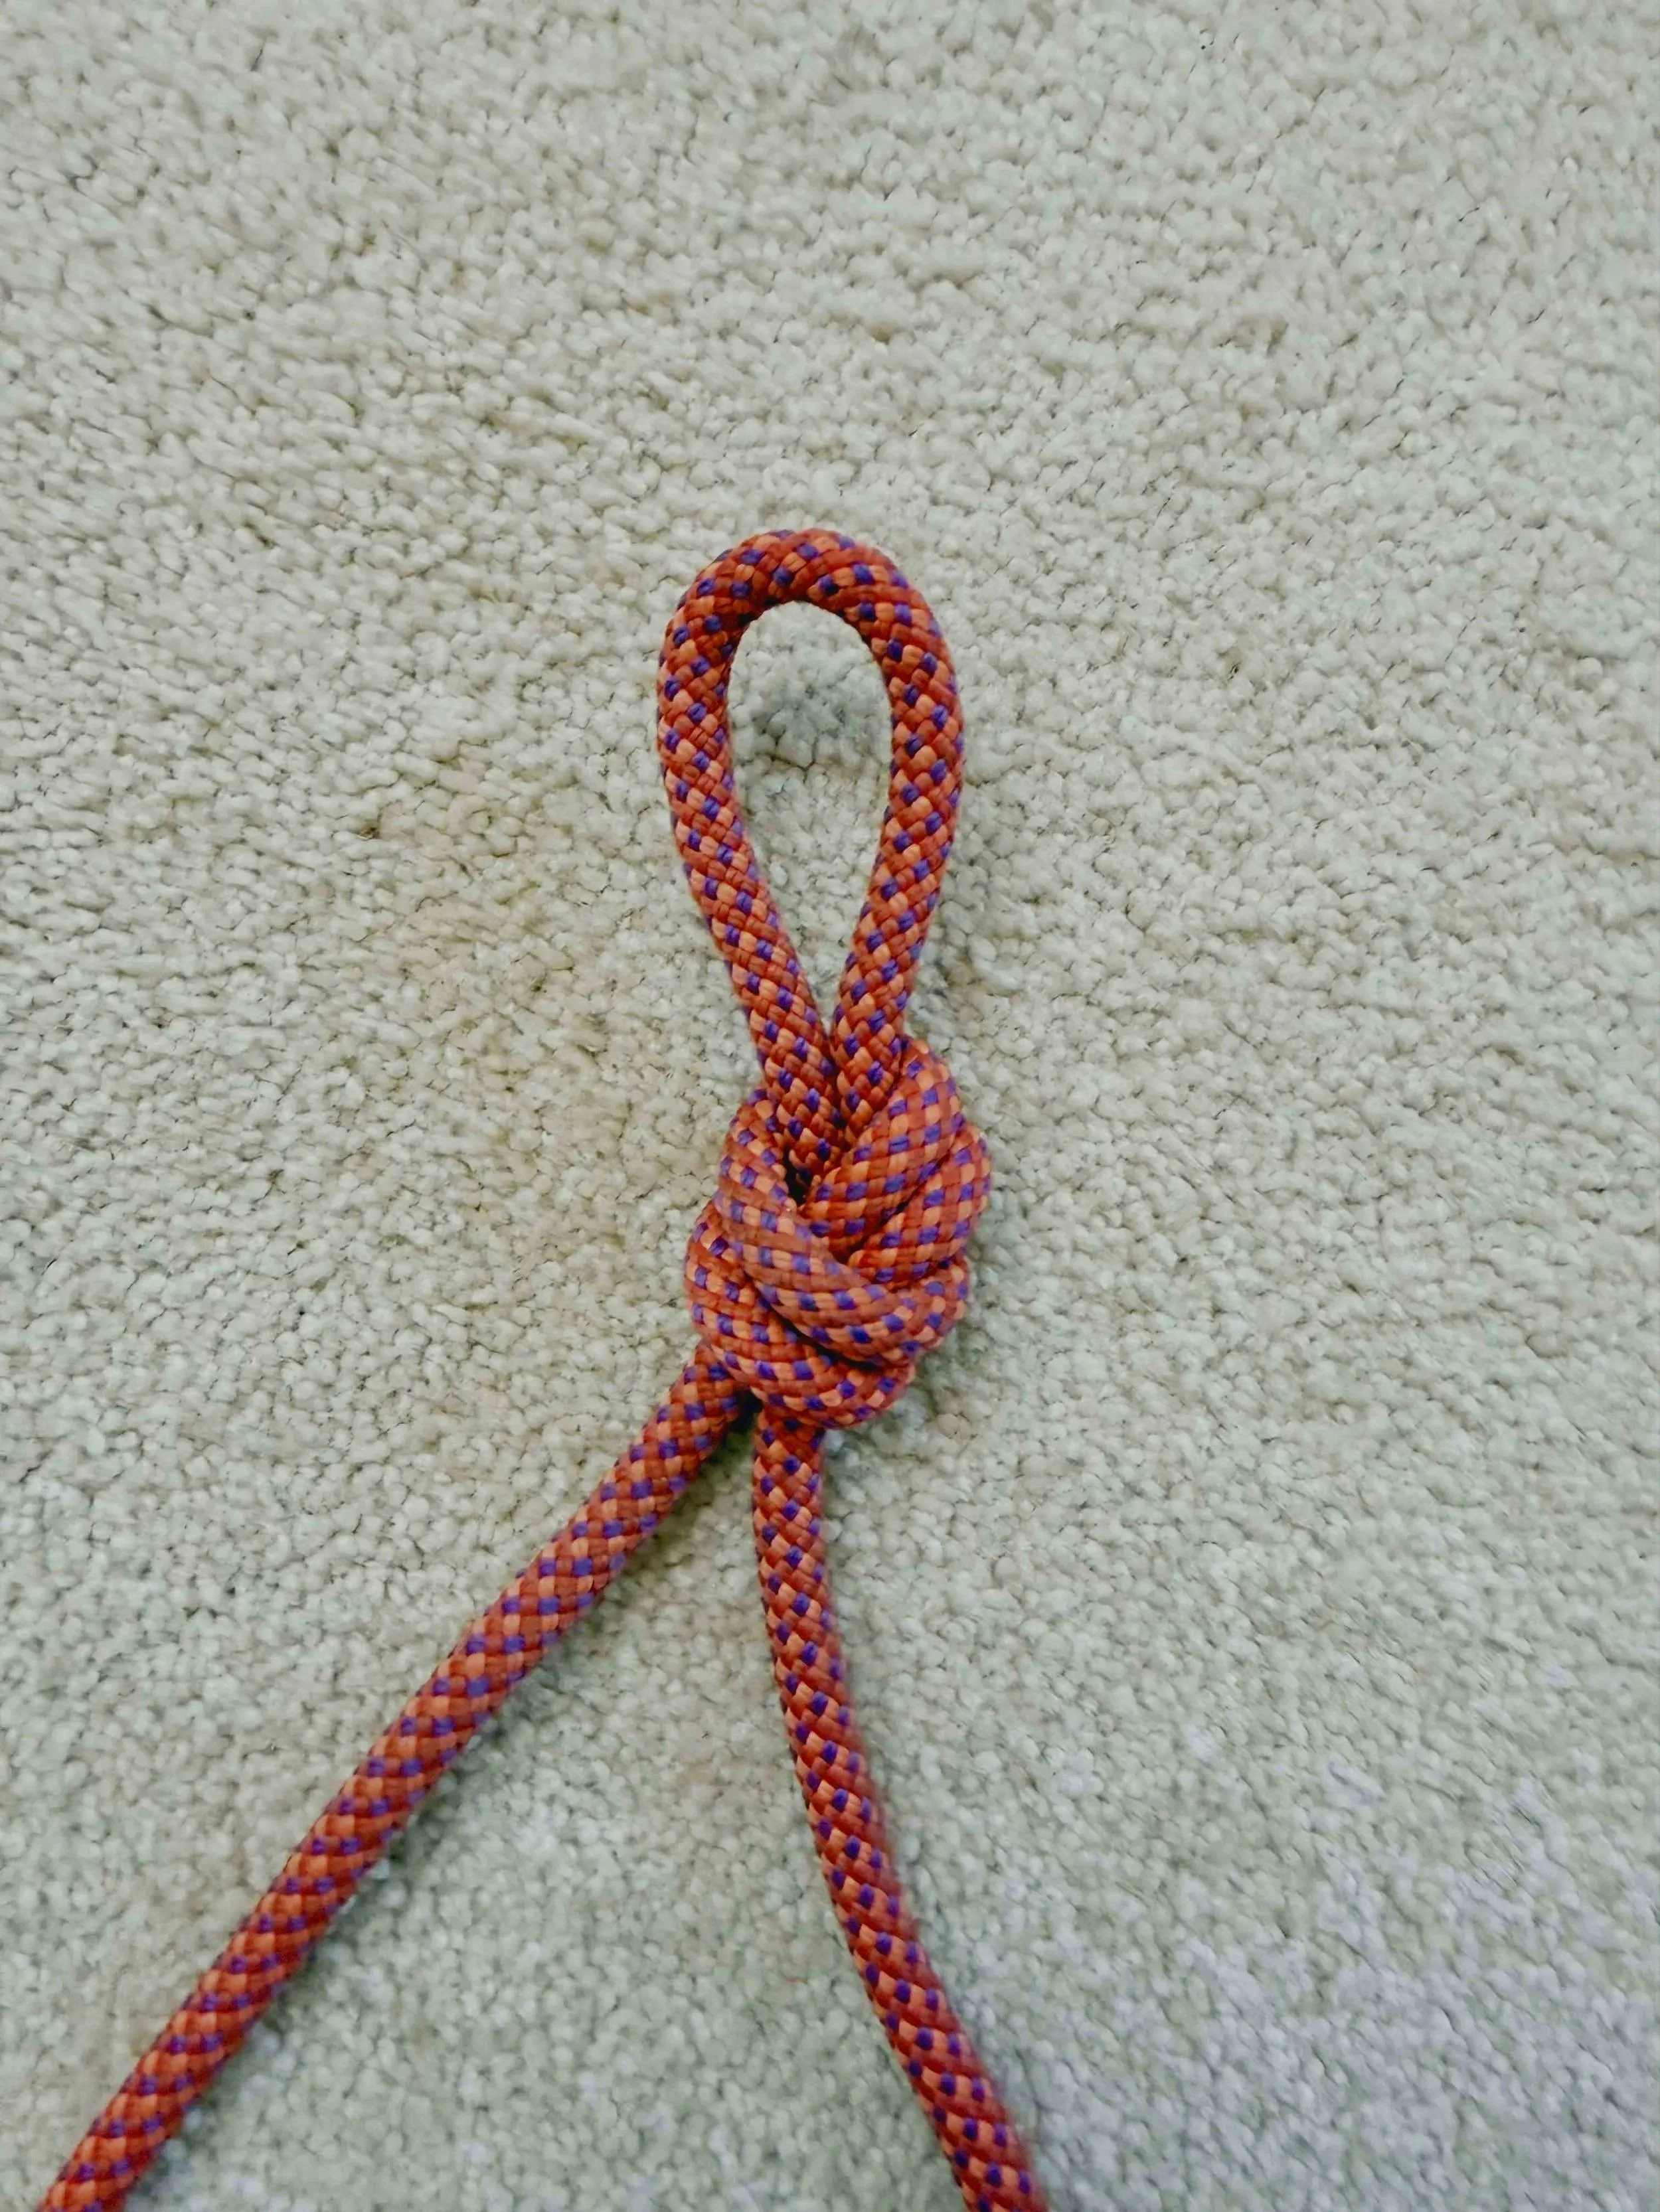
Figure-8 on a Bight
Anchor LoopBuilds a strong loop anywhere along the rope — no end required — for clipping into an anchor point.
Step 1. Fold the rope back on itself to form a bight — a doubled-over loop.
Step 2. Treat the doubled rope as one strand and tie a simple figure-8 with it.
Step 3. Dress the knot so the strands run parallel with no twists, then clip a carabiner through the loop.
Overhand on a Bight
Quick LoopThe fast, low-bulk cousin of the figure-8 on a bight — great for a lightly loaded mid-rope clip-in point when you want something quick and compact.
Step 1. Fold the rope to form a bight.
Step 2. Cross the bight over the standing strands to form a loop.
Step 3. Pass the bight through that loop and pull it snug.

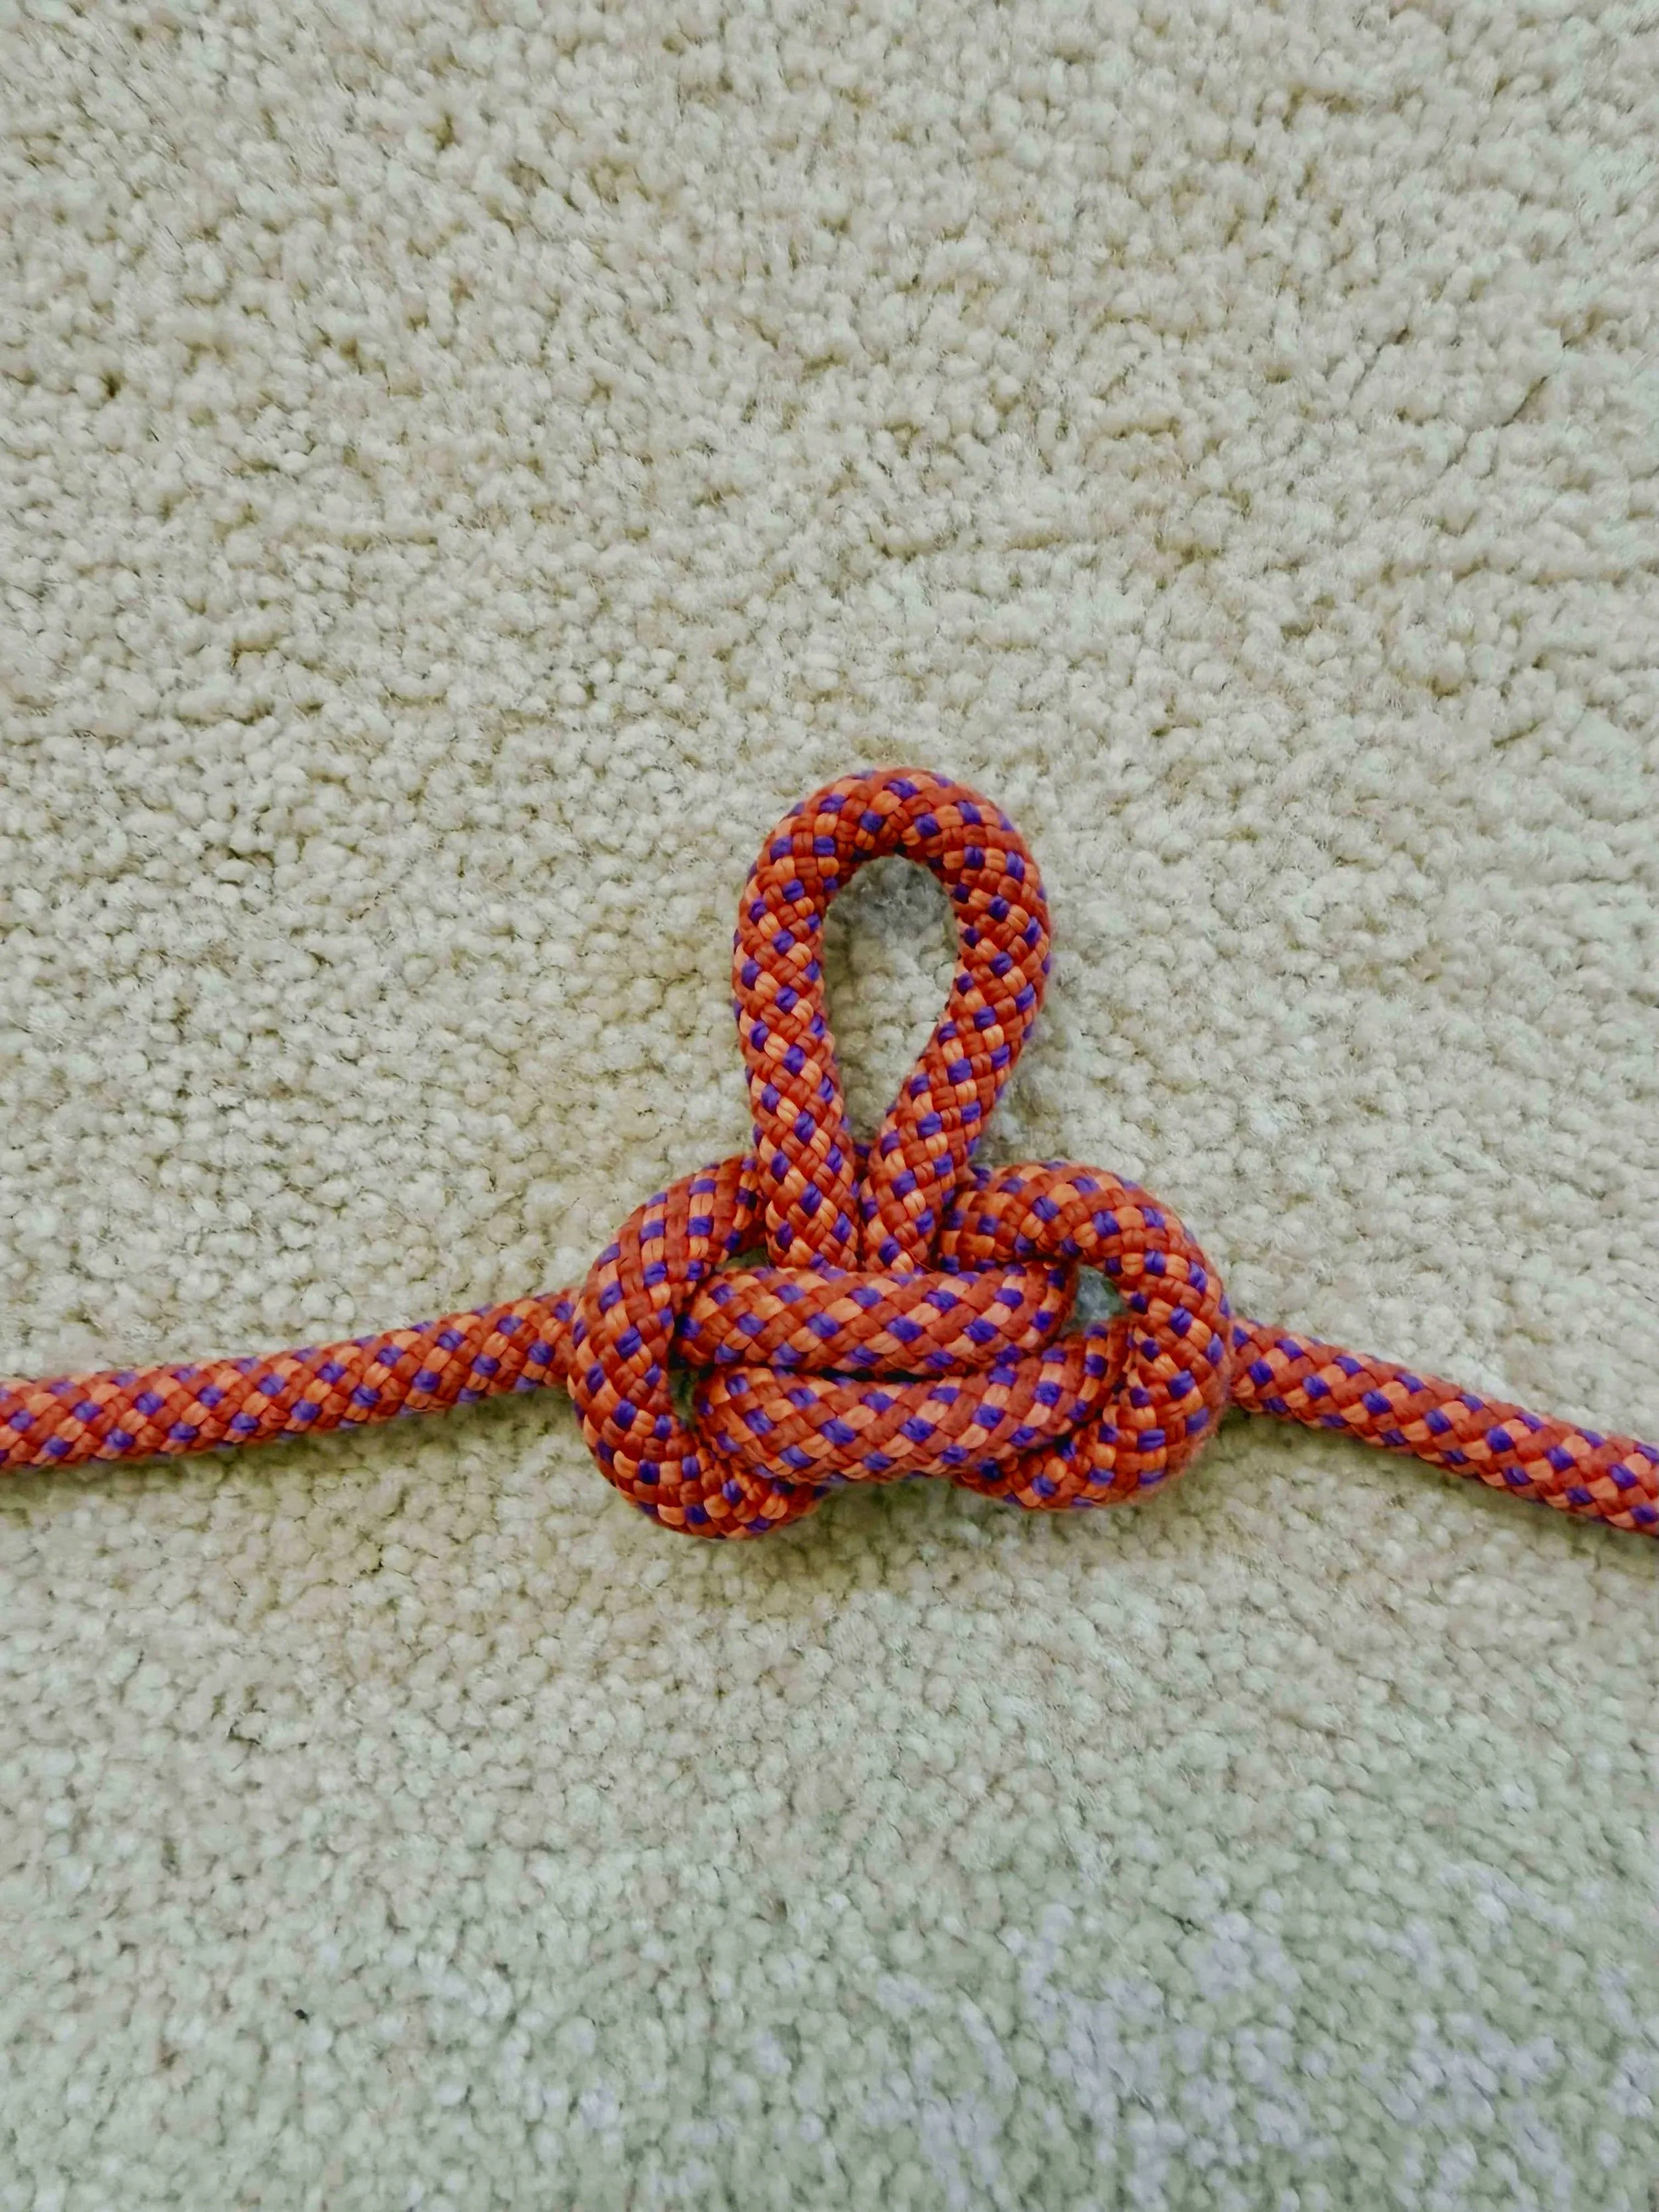
Super-8 (Bunny Ears)
Two-Point AnchorTwo independent loops from one knot — perfect for clipping two separate anchor pieces and equalizing the load between them.
Step 1. Tie a figure-8 on a bight, leaving the bight nice and long.
Step 2. Feed that long bight back through the top of the knot without pulling it all the way through — you'll end up with two loops on top ("the ears") and one below.
Step 3. Pull each ear individually to even out their lengths and snug the bottom loop against the knot.
Step 4. Clip one ear to each anchor piece, then a third carabiner across both ears for your master point.
Alpine Butterfly
Mid-Rope LoopThe go-to knot for tying in a middle climber on a team of three, or for isolating a worn or damaged section of rope. Loads securely from multiple directions and stays easy to untie, even after a heavy fall.
Step 1. Wrap the rope around your hand twice, forming two loops.
Step 2. Take the loop closest to your fingertips and fold it back over the other two.
Step 3. Reach through both remaining loops, grab the one you just folded over, and pull it through.
Step 4. Slide the knot off your hand and pull all strands tight.
Munter Hitch
Backup Belay/RappelA way to belay or rappel using nothing but a rope and a locking carabiner — no belay device required. Worth knowing for the day you drop your ATC.
Step 1. Form a loop in the rope with the brake-hand side crossing in front.
Step 2. Form a second loop the opposite way, so the rope crosses in the other direction.
Step 3. Fold the two loops together like closing a book, and clip a locking carabiner through both.
Step 4. Make sure the load strand runs against the spine of the carabiner — not the gate — before weighting it.

Big Honkin' Knot (BHK)
Anchor Master PointA fast way to build an anchor off a single bombproof tree or rock horn — no hardware needed. It wraps the rope around the anchor and ties both strands together, giving you a secure double loop to belay or rappel from.
Step 1. Confirm the tree or rock horn is unquestionably strong, with no sharp edges that could damage the rope.
Step 2. Pull up a few feet of slack and pass a loop of rope around the anchor.
Step 3. Step downhill of the anchor so the rope can't lift off the top, then tie an overhand-on-a-bight using both strands together as one.
Step 4. Dress it snug against the anchor. The resulting double loop is your master point — clip your belay device or rappel setup into both loops.